Showing posts with label Christmas. Show all posts

Saturday, December 14, 2013

DIY Golden Animal Ornaments

This winter I've been gearing up for the Christmas season with a bit of decorating and crafting! One of my favorite crafts of Christmas time is creating the ornaments for the annual ornament exchange several of my girlfriends do! This year I opted to try something totally different from last time. I created little wintery scenes inside a plastic globe ornament. 

What you need: 
- Small animal figurines
- Gold acrylic craft paint 
- Large plastic globe ornaments that open in half vertically
- Winter Trees (sized to fit in the globes you choose) 
- White Glitter 
- Ribbon 
- Hotglue gun 

Here is how you make them:
1. Prep your little animals by painting them gold! This may take several coats and can be done with gold spray paint or a paintbrush and acrylic paint. Beware that this step takes a little time allowing the paint to dry between coats. 

2. Heat up the hot glue gun and choose which animals will go with which tree and approximately where you want them positioned. 

3. Hot glue the bottom of the tree and animals inside the ornaments. I chose to put a tree on one half of the ornament and the animal in the other, this allowed for best placement when closed.

4. After the animals and trees are secured carefully dump some white glitter in the bottom half of what will be the back of the ornament. (My glitter ended up sticking to the sides a bit, which is why I suggest trying to aim it towards the bottom of the backside) 

5. Close the ornament by attaching the front half (side with animal). I decided to add a drop of hot glue on the bottom seem of where the two halves meet to help them stay closed! 

6. Tip it upright and watch the glitter fill the scene like snow! 

7. Add ribbon or another type of attachment to hang the ornament! 

8. Hang on the tree and admire your pretty little winter scene! 


Merry Christmas! 


Sunday, January 27, 2013

Belated Holidays!

Better late than never! Sorry this is a bit over a month late- the holidays were crazy! Here are some pictures from my holiday season!


 Ken when he has code red! 

 Macey
 Marilyn
 Yahtzee and Popcorn with Mom!
 Christmas Eve Church Service- It was so beautiful!
 Mom & I- can you see the resemblance? 


 Christmas Eve goodness- while watching the Grinch and Polar Express!
 Christmas Morning! (Notice the freshly fallen snow)
 She's so pretty! 

 Christmas Morning- Fireplace and PJs! 

Christmas Dinner- was delicious! 
 And Dessert was sooo tasty!
 My sweet Kitty Maggie!
Some serious snow! 

Sorry I don't have more pictures from the holidays- My Christmas was so lovely! I spent it in Massachusetts with some of my family- Gabby, Heather, Andy, Justin, and Kate were missed! 
I am so thankful for my family- and this lovely time we got to spend together! 

Friday, January 11, 2013

Ornament Exchange


So I might be a few weeks late in posting this, but I wanted to share with you the new tradition that began with a few of my girlfriends this winter: the ornament exchange. It was my friend Danielle's idea that we each buy or create an ornament (4 of them) and send one to each girl, and keep one for yourself. This way each year we are getting 4 new ornaments for our trees. I love this idea because as a young adult I am expecting that sometime in the near future I am going to have to decorate a whole tree and I have so few decorations that are mine. In this post I am going to share with you the beautiful ornaments I received and also give you a quick DIY for how I created my ornaments. 

Above are the lovely ornaments I received from the girls!
Left to Right: Danielle, Meagan, Alyssa

Danielle's and Alyssa's came while I was still here in PA so they went on my tiny baby Christmas tree- but Meagan's went to MA- so that made it to the family tree. I was so happy each time I received a package with a fun little Christmas Ornament inside! 


When i was thinking about how I wanted to create one i looked around online for awhile. I found some inspiration on Pinterest- where else? I liked this look (below) of a white ceramic globe with paint pen detailing. So off to Micheal's I went. I returned home with 4 white globe ornaments and black and gold paint pens. 


Before I actually did the designs right on the ornament I grabbed a sheet of white construction paper and tried a bunch of things out there. I liked the design in the inspiration picture, but I didn't want to totally rip it off. Finally I settled on a simple black silhouette of a Christmas tree. Then I had the idea to embellish each tree with slightly different designs. Here is what I came up with! 

I couldn't tell you which of these is my favorite- I really loved how all of them turned out. I deliberated a lot over who to give each ornament to and here is what I decided: Top Left: Meagan, Top Right: Danielle, Bottom Left: Alyssa, Bottom Right: Me.

The process was so simple. After coming up with a design you simply draw it out onto the ornament and let it dry completely before adding another color pen or another layer. (follow drying directions on the markers).

After they were all dry and ready to go, I wrapped them up with some bubble wrap, tissue paper, and extrememly glittery ribbon (below left), added a simple homemade Christmas card (below right), and shipped them off to Florida, New York, and Texas!

This project was so much fun, fairly simple, and very cheap. I hope we can keep up with this new tradition for many holidays to come! I loved it so much!

(Here is my 4th ornament on the tree)
Maggie got tired helping and took a nap on the wrapping supplies. Typical cat. :) 

Happy belated Holidays! 

Thanks again to my beautiful friends for starting this exchange! I hope it may have inspired some of you with a few ideas for next Christmas! 


Monday, January 9, 2012

Magical Tent of Wonder (which also serves as a Fort)!

A little while ago Gabby and I made a Fort! I had been seeing so many lovely pictures of forts on Pinterest, and other blogs and I wanted one so badly to cozy up in! Lucky for me Gabby also has the spirit and imagination of a five year old so we set out to build a fort. 7 suitcases, 1 tote, 1 picture frame, 1 drying rack, 1 large sheet of cardboard, a few tacks, a shower curtain, a sleeping bag, a quilt, and 7 sheets later... we had ourselves a FORT! enjoy the pictures and video tour below!

The Outside
 Another outside shot!
 Door Closed...
 Door Open!
 Watch this next clip and get the full tour! (So worth it!)
A glance at the lamp, high ceiling, and lights!
 Gabby enjoying the coziness :)
 Me- also clearly being cozy
 Macey returning to reek havoc on the fort... 
or be cute,
who can tell?
 There is enough room to lay on the floor and stretch out!
 And even enough room to stand!
 Me: hard at work
in the fort
writing a blog post, 
about the fort. :)

I hope this post will inspire at least a few of you to make your own fort! 
Happy building!

Tuesday, December 20, 2011

Have yourself a very Ugly Christmas!

Merry Christmas Everyone! This week I have really been in the Christmas Spirit, Family time, Shopping, Movies, Food, Pictures, and most of all Ugly Sweaters. Our Second annual Ugly Sweater Party happened this past Sunday and it was a smashing success! We were sad not all of our original party guests from year one were able to attend, but we were excited for our new comers, and gladly welcomed them into our tradition! 
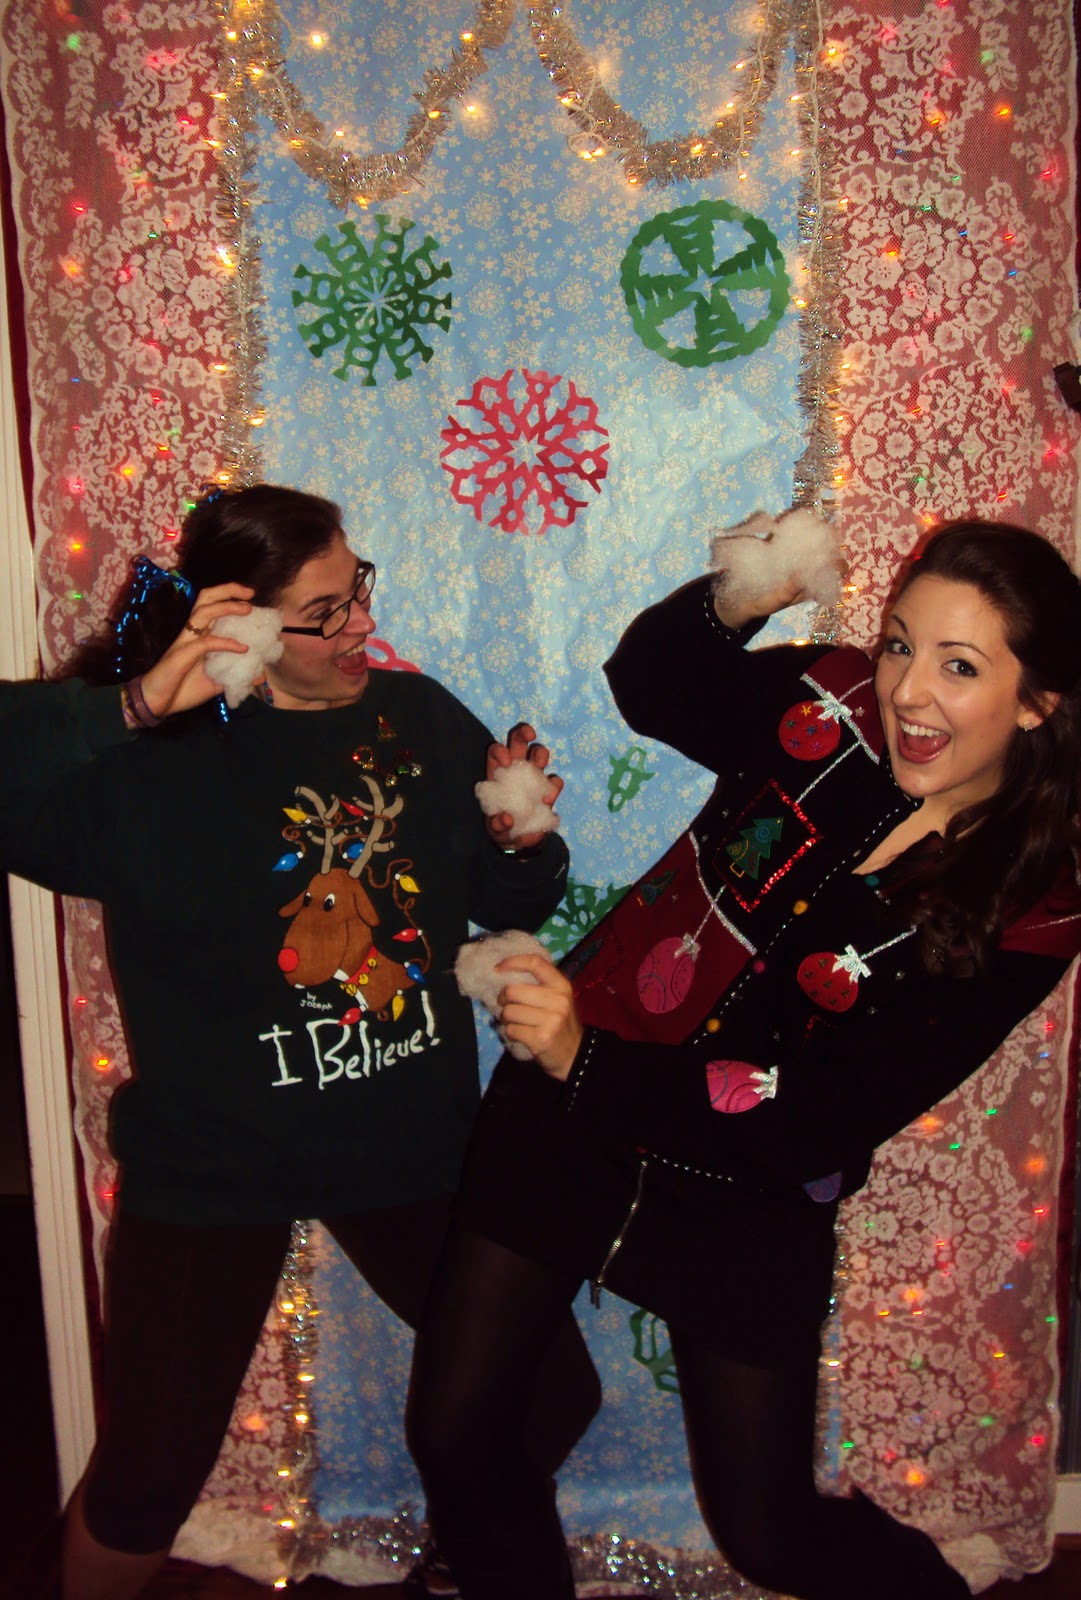
Here are select photos from the evening (most taken in front of our tacky photo backdrop!)
Enjoy the ugly- try not to throw up!

<3

 Kissing Kitten: Josh & Alyssa
 Glitter & Glitz: Audrey & Gabby
 The Christmas Lick: Justin & Kate
 Awkward Couples Pose: Danielle & Eric
 Reindeer Games: Brian & Danielle
 Snowball Fight: Kelley & Danielle
 The Ladies:
 The Men:
 The Family:

In case you are wondering who won the categories... here they are:
Ugly Sweater Champion: Alyssa Magee
Most Festive Sweater: Eric Glynn
Most Creative Sweater: Josh Lowery
Best head-to-toe outfit: Alyssa Magee

We had a fabulous evening full of food, fun, 
and rating videos of fireplaces on youtube for quality. 

Thanks all for reading, Merry Christmas!